Styling Paragraphs
To add a paragraph in Word, type some text and press the Enter key.
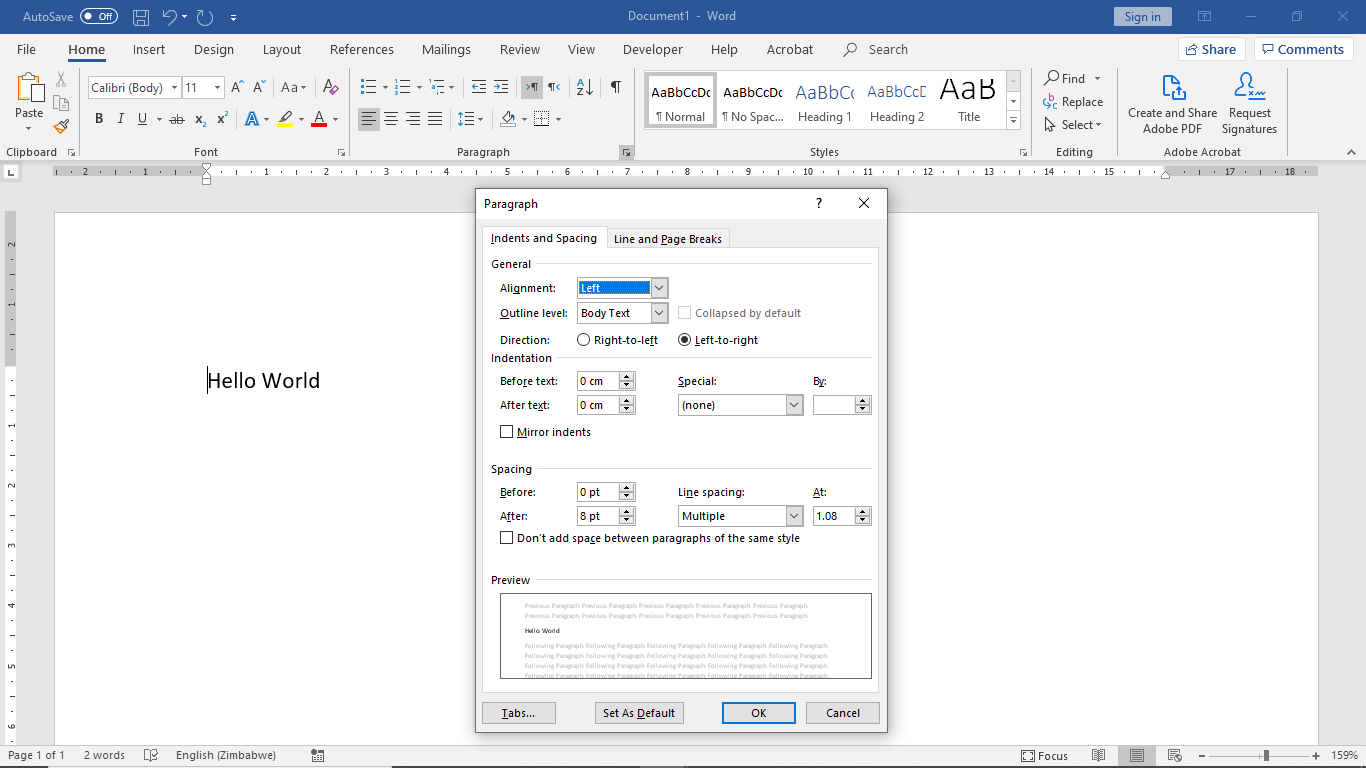
To open the Paragraph dialog box to style a paragraph, place the cursor anywhere in the paragraph and click the bottom right corner of the Paragraph group, in the Home ribbon (see picture below).
 |
Indentation Field Set
The Before text field pushes text to the left and the After text field pushes text to the right (similar to a margin).
The Special field, First line option indents only the first line in the paragraph according to the By field (in addition to the Before text) and the Hanging option indents all the lines after the first line.
The Hanging option is commonly used for lists to indent all lines after the first line with the list numbers or bullets.
Spacing Field Set
The Before and After fields add space before and after the paragraph. The Line spacing and At fields specify the line height for the paragraph lines.
Use the Before and After fields to add spacing. Do not use unneeded empty lines for spacing instead.
Pagination Field Set
The Pagination field set in the Line and Page Breaks tab of the Paragraph dialog box tells Word how to behave when a paragraph overflows on the next page.
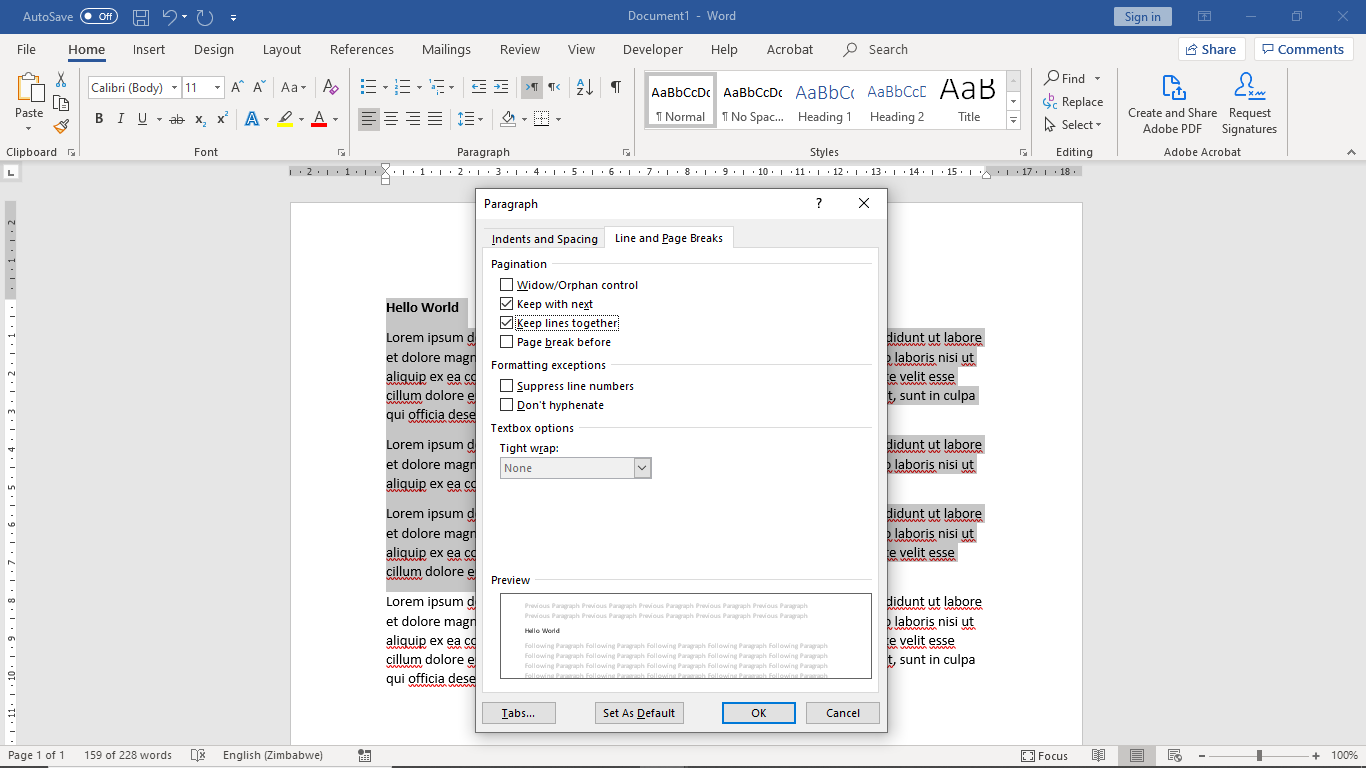
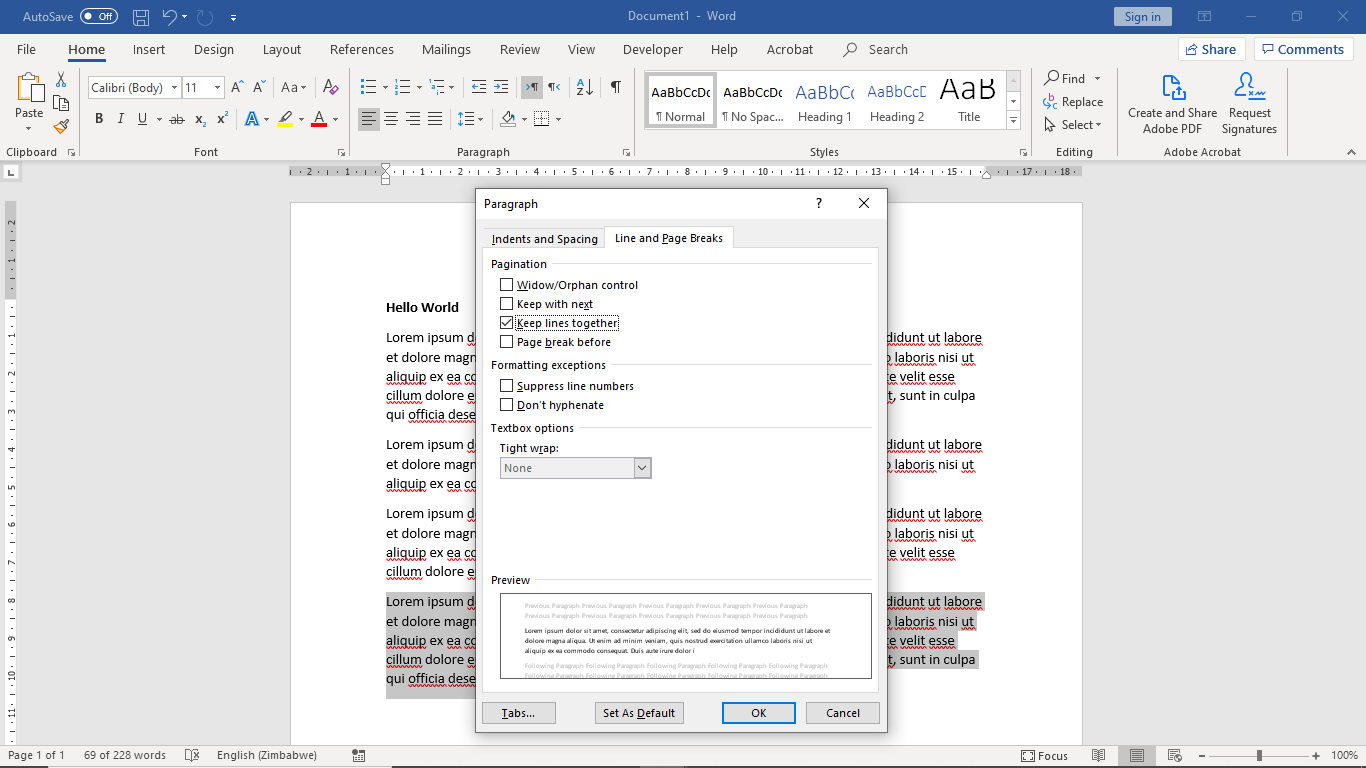
The Keep with next field is used to keep several paragraphs together (even if the paragraphs are inside a table) so they cannot be split across pages and either all the paragraphs fit in the page or all of them are moved together on to the next page.
The Keep lines together field tells whether the paragraph lines can be split across pages or not.
The Page break before field tells whether the paragraph should start in a new page and is often used for top level heading style.
The Keep with next and Keep lines together fields are some of the most commonly used pagination features, used to group together sections of the document so they cannot be split across pages (the same approach will also work for tables).
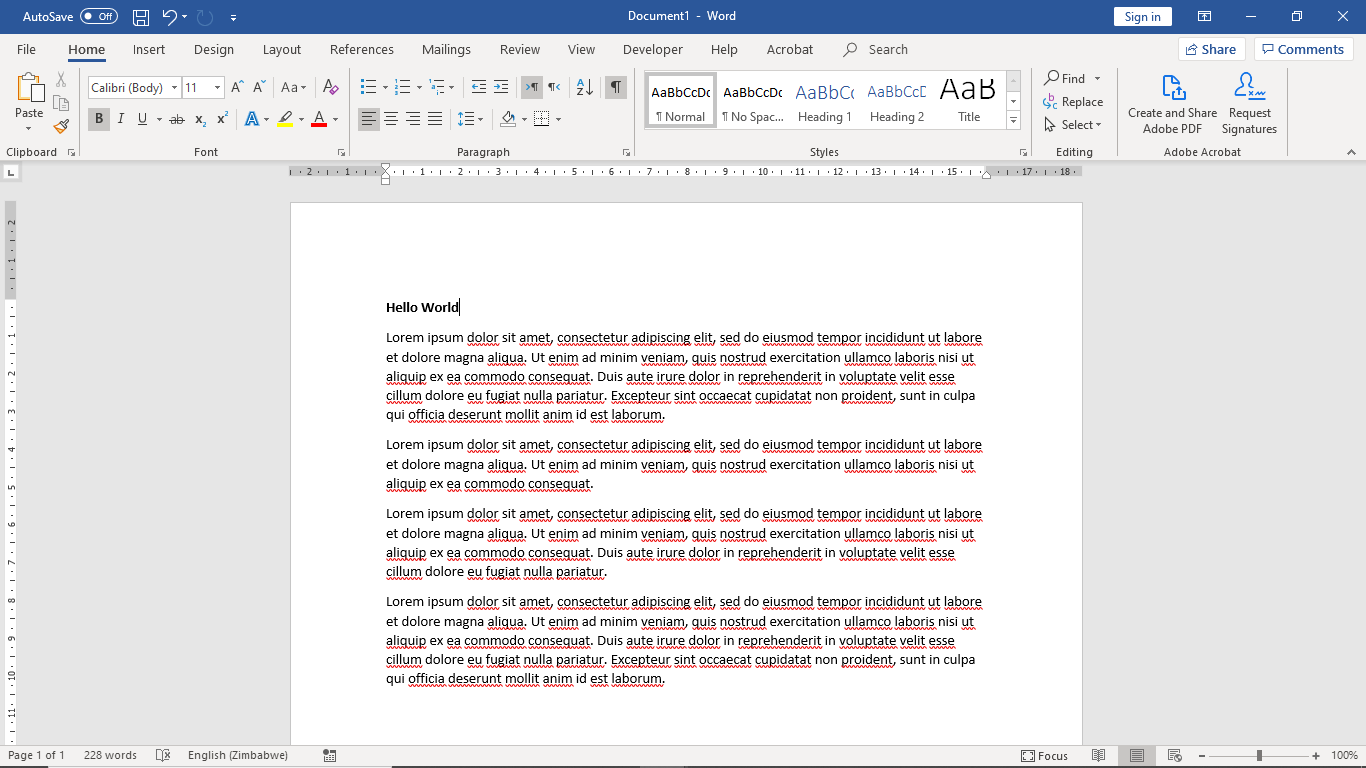
To group together a section of the document so it cannot be split across pages, we will start by creating a document with several paragraphs (see picture below).
 |
Highlight all the paragraphs except the last paragraph in the section, set the Keep with next field to checked and Keep lines together field to checked (see picture below).
 |
Go to the last paragraph in the section, set the Keep with next field to unchecked and the Keep lines together field to checked (see picture below).
 |
If you try adding text before the section, you will see it cannot be split across pages. Either the entire section fits in the page or it is moved on to the next page.
Show Paragraph Marks and Other Hidden Symbols
To show or hide paragraph marks and other hidden symbols like end of line, end of paragraph, page breaks, section breaks etc., click the end of paragraph symbol ¶ at the top right corner of the Paragraph group in the Home ribbon (see picture below).
 |
Showing the paragraphs marks and other hidden symbols can be helpful in understanding and debugging documents, and finding things like extra empty pages.
Show Vertical and Horizontal Rulers
To show the vertical and horizontal rulers, check the Ruler field in the Show group, in the View ribbon (see picture below).
 |
The horizontal ruler can be useful for visually setting the paragraph indention options.